


Are you looking to start a side hustle that earns over $ 3,000 without requiring you to leave your house? DTF printing can help you earn significantly more from the comfort of your own home, but only if you know how to do it correctly. Whether you’re just messing around with T-shirts at home or trying to get your side hustle off the ground, knowing the DTF printing terminology is pretty much non-negotiable if you want your stuff actually to look good.
There’s a lot to wrap your head around, like hot peel vs. cold peel films, RIP software, and white ink. Many of the terms can be overwhelming, especially if you're new to the field. So to help you create a lucrative side hustle, we have put together this guide: 50 must-know DTF printing terms explained, broken down into simple language you don’t need a PhD to understand.
So, whether you’re about to hit ‘print’ for the first time or you’re knee-deep in troubleshooting, this guide will help you through the DTF printing process. Let's dive in!
DTF Printing Glossary: 23 Most Common Terms
Core DTF Printing Terms
1. DTF Printing (Direct-to-Film Printing)
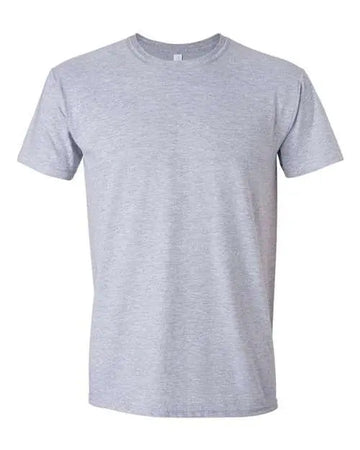
DTF printing is a process where you print your design directly onto transparent film, apply heat to it, and then install the design on a t-shirt or any other fabric-based product. It’s on your shirt.
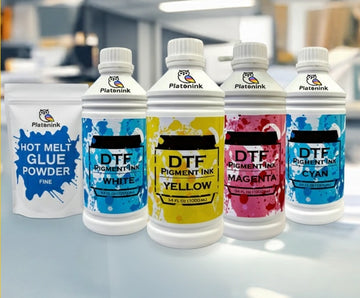
2. PET Film
PET film is simply a see-through plastic sheet (polyethylene terephthalate) that holds your design until you’re ready to apply it to the fabric with heat. It’s the secret sauce; no film, no transfer. It's a must-have DTF printing material.
3. Hot Peel Film
Hot peel is a type of PET film. Press it, and you can rip that film off right away while it’s still sizzling. If you’ve multiple shirts to complete, hot peel is ideal for your DTF transfer process, as it sticks quickly and requires minimal time to install.
4. Cold Peel Film
Cold peel film is perfect if you have time to install designs and do not have any rush orders. With a cold peel, you have to let the print cool down before peeling the film off. It takes a little longer, but the colors usually appear richer, and the print adheres better. It is excellent for perfecting your DTF printing techniques.
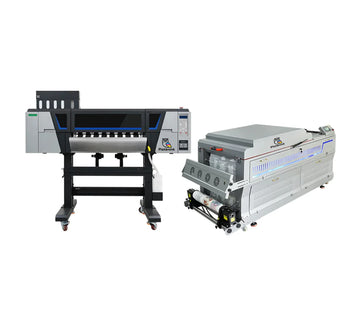
5. DTF Printer
Not just any printer will do; you need one that’s either built for DTF printing or hacked to handle those special inks and PET films. It prints your full-color design (CMYK) plus a solid layer of white, all ready to transfer; a core component of DTF printing equipment.
Inks & Colors
6. CMYK
CMYK means Cyan, Magenta, Yellow, and Black: the OG four colors you use to make pretty much any image in print. In DTF printing, these elements are applied first, making the design stand out before the white base is introduced.
7. White Ink
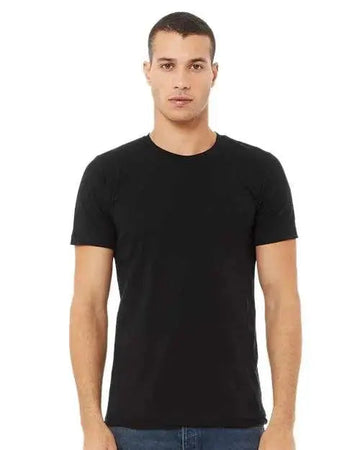
White ink’s the main ingredient for printing on dark shirts. It goes under your color design like a primer on a wall, making the colors stand out instead of getting lost in the fabric. It's the key info for DTF printing for beginners. If you mess this up, you'll end up with a discolored print.
Software & Setup
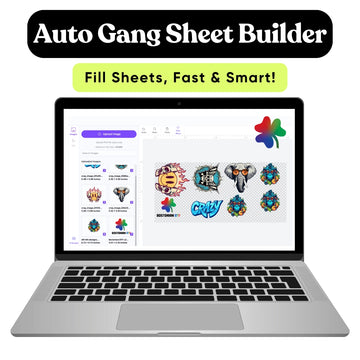
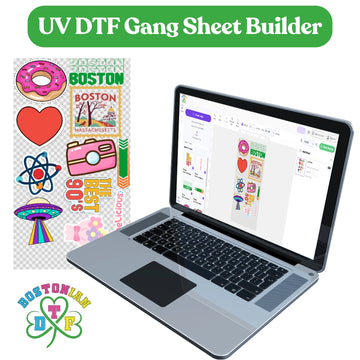
8. RIP Software
RIP software (Raster Image Processor) is the behind-the-scenes wizard that turns your digital art into something the DTF printer can handle. It tells the printer where to lay down colors, how much white to use, and other technical color details.
Adhesion & Transfer
9. Adhesive Powder
After printing, you dust the film with this powdery stuff. When you heat it, the ink melts and fuses to the garment. Without it, your print would just flake off in the wash or simply fade. It’s a vital DTF printing material and without it, durability is not possible.
10. Curing
Curing is the process of heating the DTF print (with the glue powder) so that everything melts together and sticks permanently. Mess this up, and your prints won't survive laundry day.
11. Heat Press
The heat press is a waffle iron for clothes. It squashes the print onto the shirt with heat and pressure. Without this, the design does not hold or stick to the garment.
12. Transfer Time
Transfer time refers to the duration during which the film is pressed onto the garment. Typically, it is somewhere between 10 and 20 seconds. Too short, your print peels. Too long, you might scorch the shirt.
13. Transfer Temperature
You have to get the heat right, usually between 280°F and 320°F. Go too low and nothing sticks, too high and you could burn your shirt.
14. Pressure Setting
How hard you clamp down on the film with the heat press makes a big difference. Too soft? Ink won’t bond. Too hard? You can end up flattening the life out of your print.
Finishing Touches
15. Pretreatment
Unlike DTG, DTF is a no-prep game. No spraying, no waiting. The special powder and white ink do all the heavy lifting, allowing you to skip the annoying pretreatment step. It's the reason why the DTF printing process is beginner-friendly.
16. Post Pressing
After you peel off the film, you may need to place the shirt back under the press for a quick extra press. Makes the print more challenging, less shiny, and helps it sink into the fabric. This is an advanced DTF printing technique used to ensure proper adhesion.
Print Quality Factors
17. Color Vibrancy
This is just how refined and bright your colors look. Good ink, solid software settings, and decent PET film all combine to produce prints that genuinely stand out.
18. Wash resistance
Nobody wants a shirt that fades after one wash, right? Wash resistance refers to how well your DTF print withstands the rigors of laundry day. If it cracks, peels, or fades, it’s back to the drawing board.
19. Stretchability
If your print cracks the first time you stretch your shirt, that only means a lack of print durability, which is characteristic of subpar prints. Stretchability refers to the design's ability to move with the fabric without breaking apart.
20. Opacity
Opacity means: can you see through the design? If your print is somewhat see-through on dark shirts, that’s a problem. More opacity = better coverage and bolder designs. This is one of the most essential DTF printing tips to remember when printing on dark fabrics.
Media & Feeding
21. Film Roll
For pumping out prints like a machine, you use PET film rolls. They just feed through the printer non-stop, which is excellent for bulk orders. After printing and curing, you chop them into transfers. Super efficient, but you’ll need space and probably a decent cutting setup.
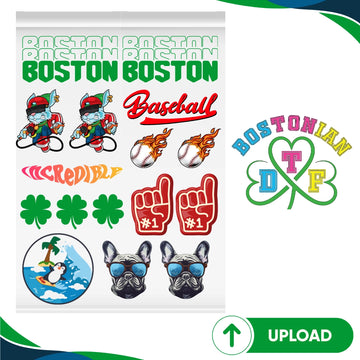
22. Sheet Film
If you’re more of a “let’s do small batches” kind of person, PET film sheets are your jam. Simply apply them manually for custom jobs or short runs. Way easier to handle, but if you’re printing a lot, rolls will make your life easier. Sheets are cool, just not for mass production.
23. Feeding Mechanism
A good feeding mechanism ensures the PET film glides smoothly through the printer like butter. If it’s off? Say hello to wobbly prints, smudges, and all sorts of headaches. Keep it aligned or risk ruining your hard work. Trust me, you’ll notice if it goes sideways.
Final Thoughts: Getting Started with DTF With Bostanian DTF
At Bostanian DTF, we understand your needs and know exactly how to fulfill them. Our transfers are top-notch, colors look right, and they don’t flake. We also have a highly skilled customer support team to help you get started. We have the tools, a detailed DTF printing glossary, and resources to help you create prints with a hassle-free process and a system to deliver your prints directly to your doorstep. When you can get a reliable supplier for all your DTF transfers, why settle for less?
Order your free DTF Sample Pack and learn about all the possibilities that DTF has to offer.


