


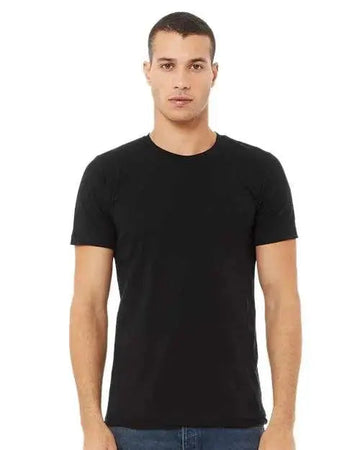
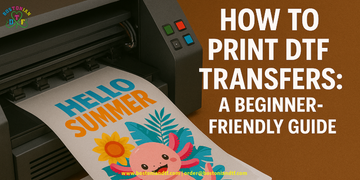
These days, it’s likely that you may hear someone discussing DTF transfers if you visit a custom clothing store. Why? Because manufacturers desire colorful, durable, and adaptable designs without the hassles of cutting vinyl or pre-treating textiles, Direct-to-Film (DTF) printing is growing in popularity, especially for custom apparel, which often requires a heat press machine.
Following detailed instructions is crucial to ensure optimal results. Being able to print DTF transfers with a DTF heat press can help you establish your brand, regardless of whether you are a startup with large plans, a do-it-yourself enthusiast looking to create t-shirts, or a small business owner.
Introduction to DTF Printing
DTF printing is a cutting-edge technology in the custom apparel industry, offering unparalleled vibrancy, durability, and versatility. Mastering DTF transfers is essential for producing stunning, professional-quality custom t-shirts.
Why Technique Matters
You can achieve optimal results with the right equipment, including a heat press machine, and proper technique. The key to success in DTF printing is following proper pressing instructions, including the correct temperature, and using high-quality DTF transfers.
Vibrant Results on Any Fabric
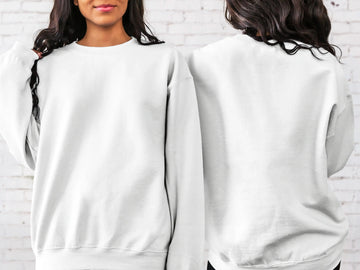
This innovative method allows you to create vibrant, long-lasting designs on various fabrics, making it a popular choice for custom apparel businesses and DIY enthusiasts.
Understanding DTF Transfers
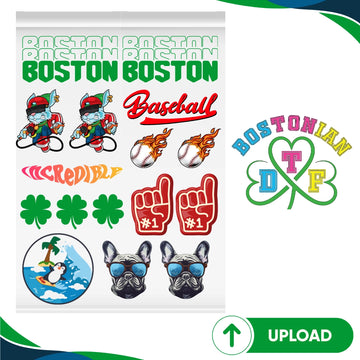
DTF transfers are heat transfers that use a special film to create vibrant and durable fabric designs. The DTF process involves creating designs on a special film, which is then transferred onto garments using heat and pressure from a heat press.
Getting the Perfect Press
Proper transfer adhesion to the fabric fibers produces a more durable, long-lasting print. Understanding the basics of DTF transfers is crucial for achieving optimal results and creating custom apparel with vibrant prints. This method ensures that your designs look great and withstand the test of time, maintaining their color and integrity through multiple washes.
Preparing for Printing
Preparing your workspace and equipment is essential before starting the DTF printing process. Ensure your heat press is clean and calibrated, and preheat it to the correct temperature (typically 300°F / 149°C for cotton garments).
Perfecting the Garment Surface
Use a lint roller to remove debris from the garment, and perform a pre-press for 5-10 seconds to remove moisture and wrinkles. This step is crucial for creating a clean canvas for transferring the design onto the garment. Proper preparation helps achieve a smooth and even transfer, ensuring that your final print is free from imperfections and adheres properly to the fabric.
What is DTF Printing?
Direct to Film (DTF) printing involves printing your design directly onto PET film, letting it dry with a specific powder adhesive, and then using a heat press to transfer it to fabric. Because of DTF’s versatility, you may print on various materials, including multiple fabrics like blends, cotton, and polyester, without compromising on quality or color, as long as you maintain the correct temperature and pressure settings. It is essential to make adjustments during the DTF printing process to ensure proper adhesion and vibrant results.
The Things You Must Begin
Here is a brief list of requirements to begin your DTF journey before you print your design. Please note that all of these are essential requirements to fulfill:
- A DTF printer (or a converted inkjet printer)
- DTF inks (including white ink)
- PET DTF film (specially coated for DTF printing)
- DTF powder adhesive (aka hot melt powder)
- A heat press (capable of medium pressure)
- Curing device (oven or heat gun)
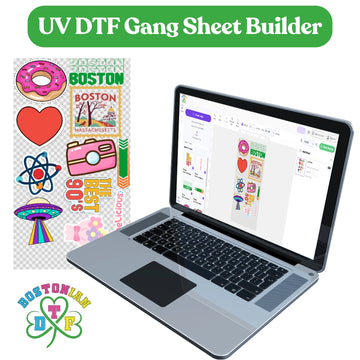
- RIP software (to handle color separation and layering)
Adjusting heat press settings, like pressing time, according to the fabric type, is crucial to achieving the best outcomes when performing Direct-to-Film (DTF) transfers. Whether printing one shirt or a bulk batch, these tools will set you up for success.
Step-by-Step: How to Print DTF Transfers
1. Create and Prepare Your Design
Utilize design software such as Adobe Illustrator, Photoshop, or Canva to begin with your artwork. These applications assist you in producing graphics of superior quality. If you prefer free options, many online tools are available to start quickly. Choose the one that fits your style and project needs best.
For a high-quality design, here are tips based on a step-by-step guide:
- Use a transparent background.
- Save your file as a TIFF or PNG.
- A minimum resolution of 300 DPI should be used.
Steer clear of skinny fonts while printing text. After transfer, the print quality will be higher if your design is more robust. Regular practice is essential to mastering DTF transfers, as it helps refine your techniques and understand the cooling process to achieve professional-quality results.
Setting Up Your DTF Heat Press
To set up your DTF heat press, refer to the manufacturer’s temperature and pressure settings instructions. The recommended temperature for DTF printing is between 320°F and 350°F (160°C to 177°C), and the pressure should be medium to firm.
Protecting Your Print During Pressing
Use parchment paper or a Teflon sheet to protect the garment from the heat press, and ensure the heat press is set to the correct time (typically 10-15 seconds). Properly setting up your DTF heat press is essential for achieving optimal results and creating vibrant prints. Following these guidelines ensures that your designs are transferred accurately and maintain their vibrant colors and durability.
2. Print Your Design onto the DTF Film
Load the DTF film into the printer with the coated side facing up. Ensure all hardware is correctly set up. Then, use your RIP software to configure the print settings according to your design and printer specifications.
- Mirror the design
- Apply the white ink underbase last (after the color layer)
- Enable high-resolution mode for sharper prints
This film printing step is crucial. It’s where the magic starts, and where you’ll see the true colors of your design. Ensure you have a flat surface during the DTF transfer application process to achieve optimal transfer adhesion and avoid damaging the design.
3. Apply the DTF Powder Adhesive
Once your design is printed and the ink is still wet, evenly apply the powder adhesive over the entire print area. Ensure the powder fully covers the ink to ensure proper adhesion during heat transfer. Shake off any excess.
Here’s how:
- Gently sprinkle hot melt powder over the entire design.
- Lift the film slightly and shake off the excess.
- Make sure all printed areas are evenly covered.
This powder acts as the bonding agent between the film and the fabric. Too little? Your design might peel. Too much? You’ll get rough, rubbery edges.
4. Cure the Powder on the Film
Now, melt the adhesive powder to form a smooth, sticky coating. This step ensures that the adhesive attaches correctly during heat pressing, helping your design adhere firmly and giving the fabric a long-lasting, superior finish. The pressing time is crucial in ensuring optimal adhesion and transfer quality, and it varies based on material composition and desired outcomes.
This can be done in two ways to press the DTF transfers effectively:
- Oven for curing: For two to three minutes, preheat to around 320°F (160°C).
- Heat gun: Move the heat gun uniformly over the powder until it becomes transparent and glossy (not bubbling).
Whatever method you use, don’t overcook the print. Over-curing can cause the adhesive to lose its bonding power.
Cold Peel Process
The cold peel process is crucial in DTF printing, especially for specialty transfers like glitter or gold/silver foil. After pressing the transfer, allow it to cool for a few seconds before peeling off the carrier film at a 45-degree angle. This process helps prevent the transfer from shifting or peeling off unevenly.
Ensuring Lasting Adhesion
Waiting until the garment has cooled down completely before handling it is essential for cold peel transfers. This step ensures proper adhesion and prevents the transfer from cracking or peeling off prematurely. Following these steps and using the right equipment can achieve professional-quality DTF prints with vibrant colors and durable adhesion.
5. Press the Transfer Onto Your Garment
Now that your film is ready, it’s time for the exciting step: transferring the design. Carefully align and press the transfer onto your fabric or surface, ensuring a smooth, vibrant, and lasting finish that brings your artwork to life. Remember to follow the cooling process afterward.
Steps:
- Pre-press your clothes or shirt for five seconds to eliminate wrinkles and dampness.
- Place the cured film (design side down) onto the garment, ensuring the position is accurate and the design is flat. You may use heat-resistant tape to prevent movement during pressing.
Press using a heat press at:
- Temp: 320–330°F (160–165°C)
- Time: 15–20 seconds
- Pressure: Medium
Let the transfer cool before peeling the film, which is called a cold peel. Pull it back slowly and watch your vibrant design come to life.
6. Do a Final Press (Optional, But Recommended)
Carefully follow these procedures to get a smoother finish and increased durability. Using the correct heat pressing temperature and pressure guarantees that your design will adhere flawlessly and last longer, ensuring optimal results and preserving the fabric’s brilliant colors and polished appearance.
- Use a Teflon sheet or parchment paper to cover the design.
- Press again for 10 seconds at the same temp.
- This “second press” helps melt the design further into the fabric, giving it a soft hand feel and better wash resistance. Ensuring the transfer adheres properly to the fabric is crucial for achieving a professional and durable finish.
Common DTF Printing Mistakes (And How to Avoid Them)
Mistake: Ink Smearing
Solution: Ensure the ink is completely dry before curing, and avoid touching the film after printing.
Mistake: Design Peels Off After Wash
Solution: Double-check your heat press settings and make sure you’re applying medium pressure. Additionally, wash garments inside and in cold water to enhance durability and softness.
Mistake: Dull Colors
Solution: Use high-quality DTF inks and ensure your RIP software includes a proper white ink underbase.
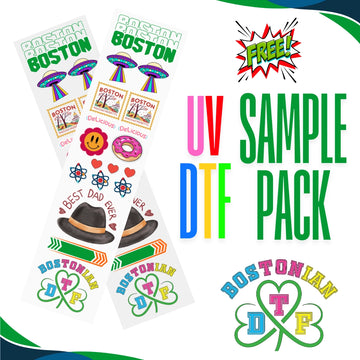
Want to explore DTF without a huge investment?
Check out bulk printing options or starter kits from reputable providers like Bostonian DTF.
Setting Up Your Workspace for DTF Printing
Before diving into your first print, create a clean, well-ventilated workspace. DTF printing involves powder adhesives and inks that require careful handling, so keep a lint roller handy to ensure a clean surface. Set aside distinct printing, drying, and pressing areas, and arrange PET films on a level, dust-free surface.
Organizing for Efficiency and Quality
Keep a storage tray, gloves, and cleaning cloths close at hand to prevent smearing your prints. Good lighting makes it easier to see flaws early. Invest in an air purifier and keep heat-resistant tape on hand to maintain print quality and protect your health. A tidy, organized setup saves time and prevents costly mistakes during production.
Why Choose DTF Over Other Methods?
Let’s be honest, DTF isn’t the only printing method on the block. But it’s one of the most versatile. Here’s why it stands out:
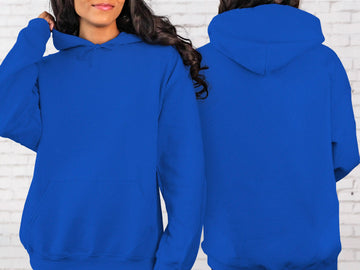
- Works on cotton, polyester, nylon, and blends
- No pre-treatment required
- No weeding or masking
- Superior print quality and color accuracy
- Great for small runs and bulk orders
Compared to traditional techniques like screen printing, DTF offers significant advantages such as better color accuracy and the ability to print on a wider variety of fabrics.
This means less stress and greater freedom if you’re managing a side gig or small business.
Wrapping it Up
Learning how to print DTF transfers may seem complicated initially, but once you get the hang of it and start mastering them, especially the hot peel technique, it becomes second nature. With the correct tools and methods and a little experience, you can produce designs that are of professional quality and stand out in any crowd.
DTF Success Starts with the Basics
DTF printing allows you to easily produce high-quality, full-color transfers, especially if you follow guidance on heat-press DTF transfers. Whether printing for personal projects or starting a custom clothing line, you can confidently achieve professional-quality results by following simple steps and using a step-by-step guide.
Start Today with Bostonian DTF
Start today with trusted tools, premium films, and expert guidance at Bostonian DTF. The importance of hot peeling in the DTF transfer process cannot be overstated. It allows for immediate peeling after pressing, ensuring efficient and proper adhesion.


